Golfer Utility
Tutorial
Using Paintshop Pro 8
By Neal Parnell (aka NO_PUTT) 
Part 1…How to add a logo to a shirt
When you open the Golfer Utility this is what you see…impressive huh? lol
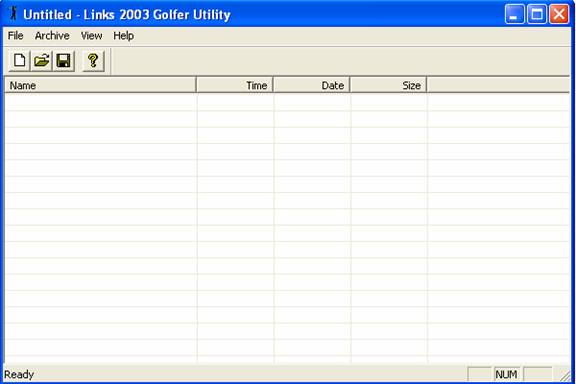
Click on the FILE tab and then click
OPEN….see below
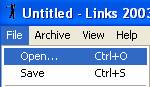
This opens a box containing your POLYANI FOLDER.
Click on the player you want to use as a
model for your new ani…lets say Matt for this
lesson.
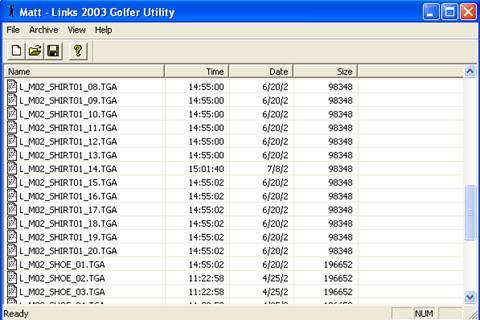
You will now see a screen titled MATT
that looks like this ……. 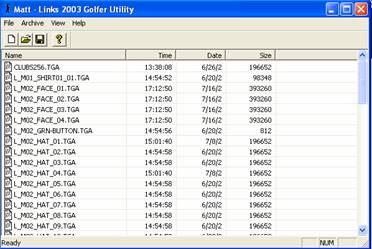
All of Matts
files will appear
All of Matts files start with L_MO2_ so
the first 2 files at the top are not used(Microsoft
mistake).
Ok lets extract
a shirt and change it.
Click on shirt #20 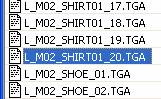 it
will highlight blue.
it
will highlight blue.
Now click on ARCHIVE
and Extract selected Files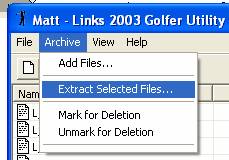
In the next box click OK 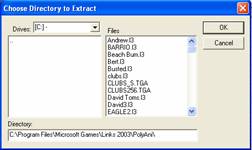
You have just Extracted
the shirt to your POLYANI Folder in LINKS.
Now minimize
your GOLFER UTILITY and OPEN PSP8.
When PSP8 has loaded click on FILE then
OPEN…..in the search box find your POLYANI FOLDER and search for the shirt file and Click on
it.
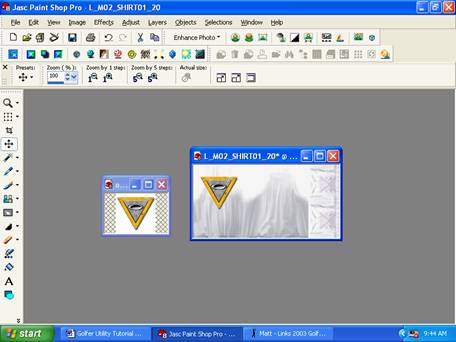
You should then see this  yep that’s a shirt.
Here is how it’s laid out 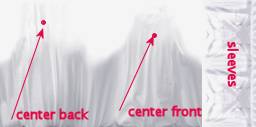
Ok lets add a logo to the shirt YEEHAW!!
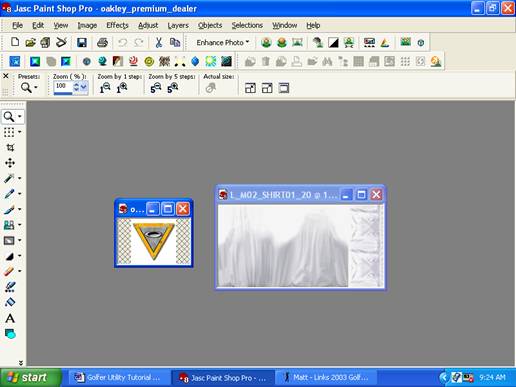
For this lesson find a small logo with a
white backround you would like to see on a shirt, and get it into PSP8 with
your shirt. (see above).
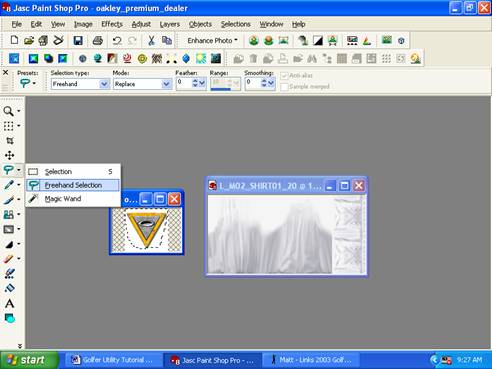
Click on Freehand Selection tool and
draw around logo(see above).
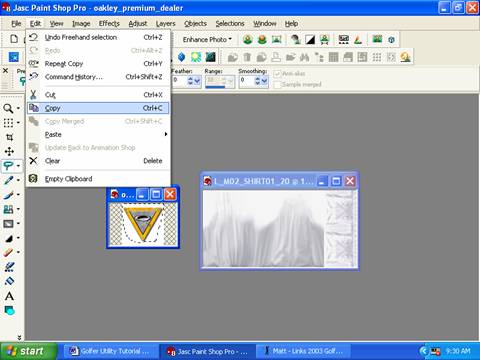
Then click on EDIT…COPY (see above)
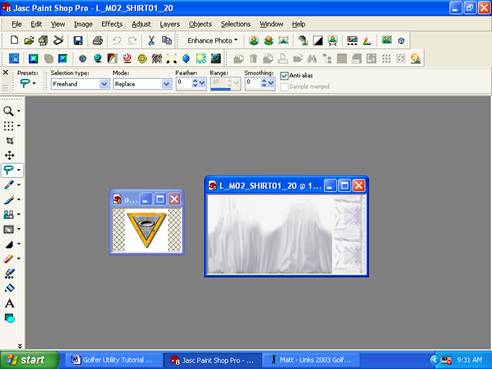
Now Click on shirt to make it active
(see above)
Now take a deep breath….ahhhh.
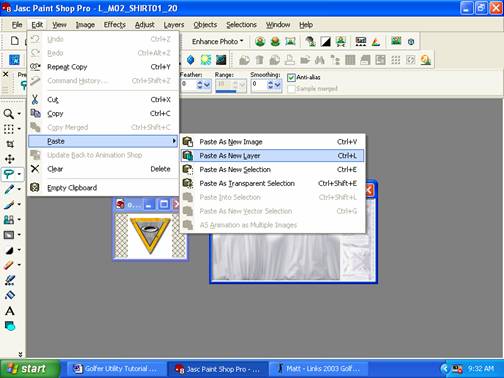
Now click on EDIT,PASTE,PASTE
as NEW LAYER (see above)
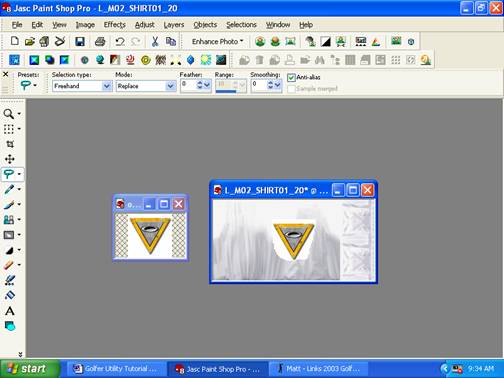
Your logo will appear on your
shirt…YEA!!
Now we have to remove the backround…
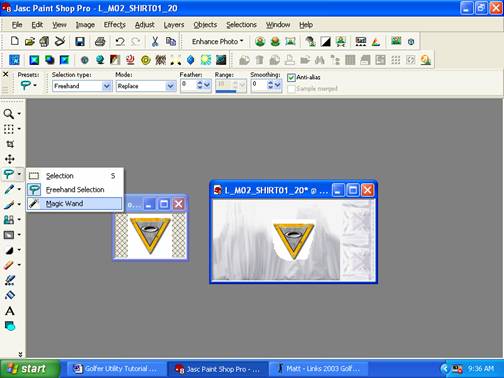
Click on MAGIC WAND tool (see above)
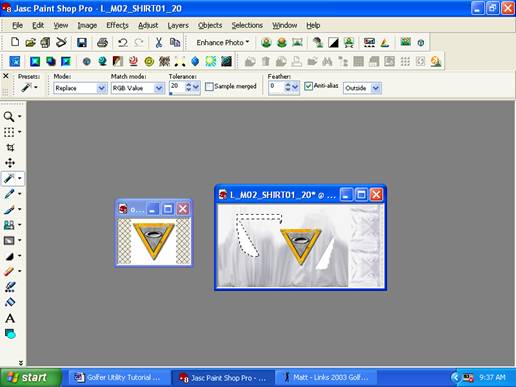
Now click on white backround and then
click and hold and drag it out of box. (above I left
mine in the box so you can see how it works. It might take a couple or more
tries to get all of backround out).
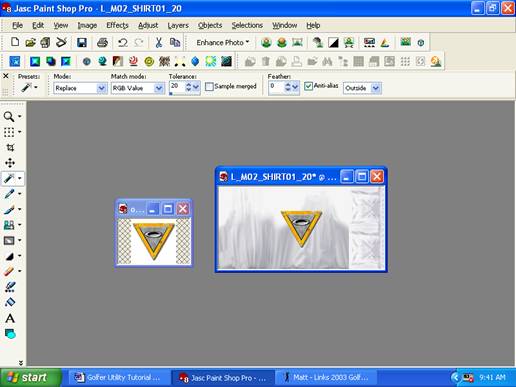
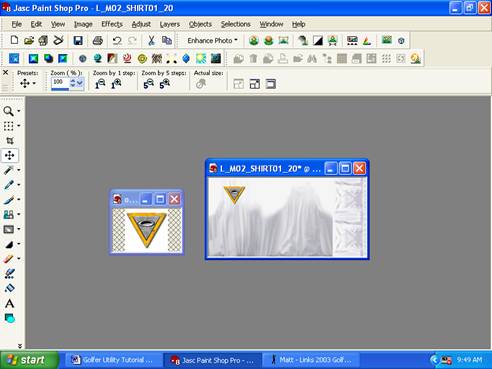
Now we have a clean logo so lets move
it closer to where we want it…^

Click on the move tool (see above)
Click and hold on your logo and drag it
to the back of shirt(see above)
Now we need to shrink it…
Click on the deform tool (see above)

Click on a corner of box and push mouse
forward to shrink then move logo back to center….(red
squares adjust shape , inside box will move shape.)above.
just click on any other tool to make red box dissapear.(see above)
Now we’re almost done with editing , but not quite..lol
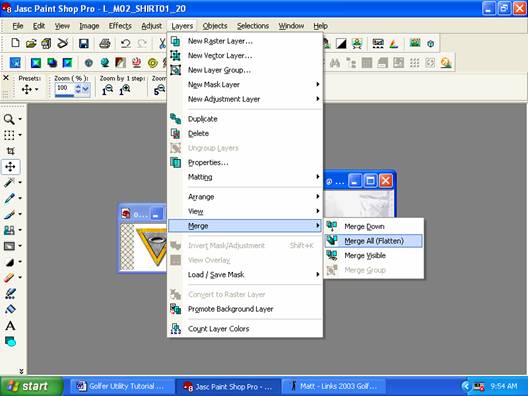
Click on Layers,Merge,Merge
All(Flatten). (see above).
Now our shirt is all together, let’s
save it…
Click on FILE,SAVE
AS, then click OK
The shirt is now altered and saved in
your POLYANI FOLDER now let’s put it back into the Utility and into the game.
Close PSP8
Bring up minimized Golfer Utility
You should still have the Matt title showing(see above)
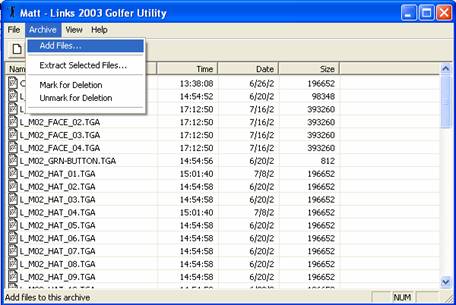
Click on ARCHIVE…ADD FILES and then find
the shirt you changed in your POLYANI FOLDER and click on it.(see
above)
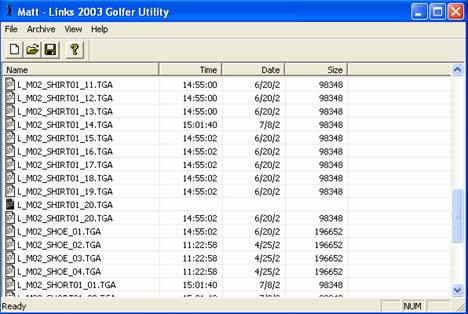
Now if you scroll down you will see that
you now have 2 #20 shirts with one highlighted in black….(see
above)…GREAT!!
Almost done…
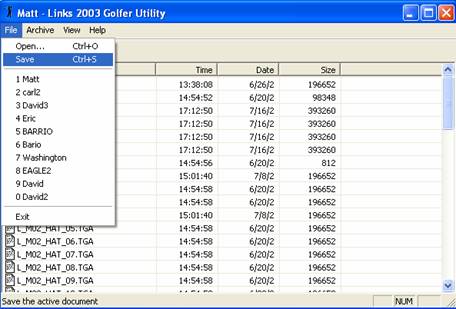
Click on FILE…SAVE (see above)
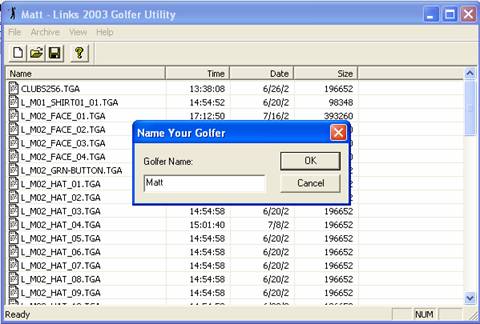
You now see Name your Golfer Box. Click in front of Matt name and backspace
over it and RENAME to a new golfer. Then click OK.
You have just added a new golfer with a
new shirt to the Utility and to the Game.
Close utility and Open LINKS
Go to OPTIONS..PLAYERS…Personality
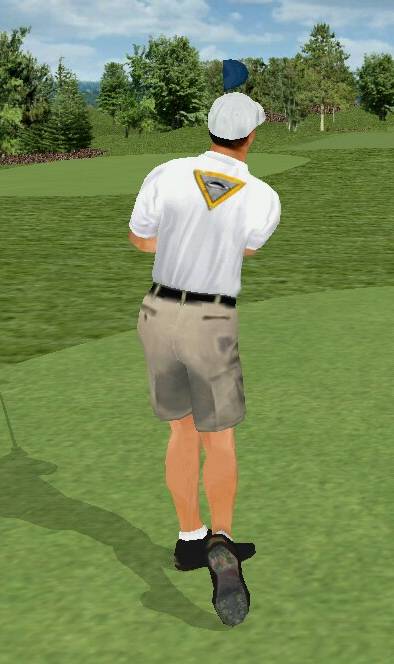
and find your new golfer and his white shirt.
Start a game of LINKS and ….
VIOLA!!
(SEE BELOW)
Hope this helps get you started , and hit ‘em straight!
Utility & PSP8 Tips
1. Any text must be mirrored before adding to a right-handed player.(With your logo window active just click on IMAGE then MIRROR and your logo will be reversed.
2. Never save files to your original animations always Rename or save as one you have created.
3. Understand that your POLYANI FOLDER is only a holding area between the UTILITY and PSP8. After you have altered and saved a .tga file you can then DELETE it from your POLYANI FOLDER. I only keep files that I am working on and only one ani at a time or it can get very confusing. In other words keep it neat. Remember your golfers are in there too so don’t delete them…lol.
4. You can drag over all of MATTS files and extract them all at once. This comes in handy when designing a full animation.
5. Always remember to Merge and Flatten every shirt after editing (Strange things can happen to the ani if you save it without merging and flattening your logos or text.)
6. Ctrl-Z…..takes away your last move in psp8 (very cool tool for going back many moves or just one) .
More
tips to come…
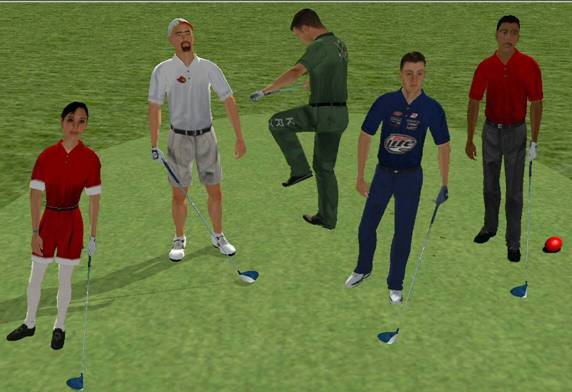
Does the guy on the right look anything like Tiger to you?
(see
below) lol.
Above all,
Have
FUN